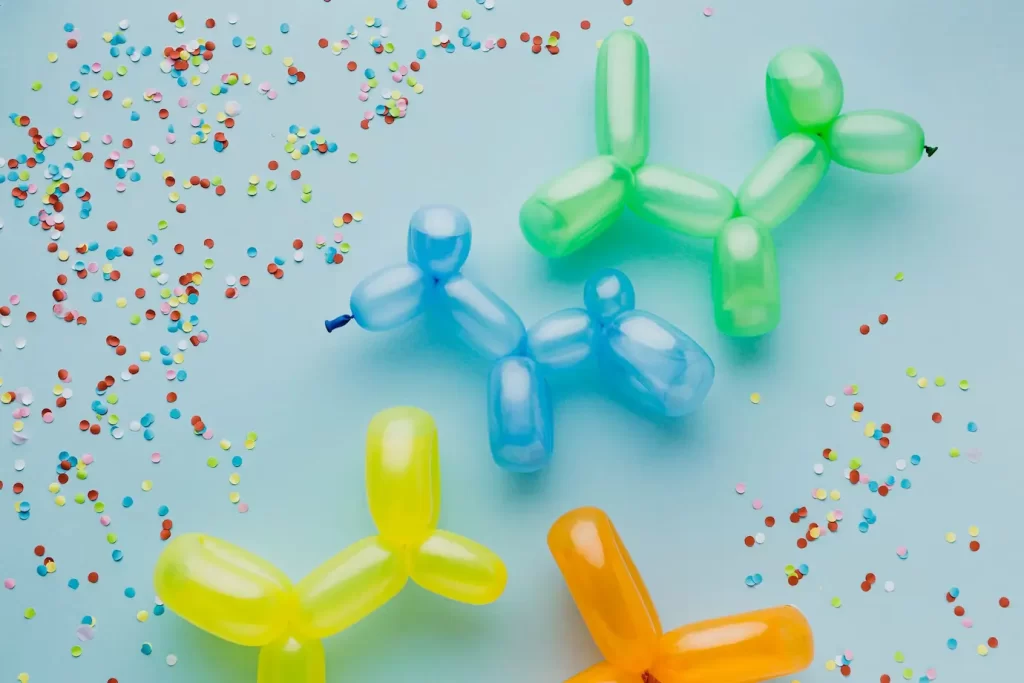
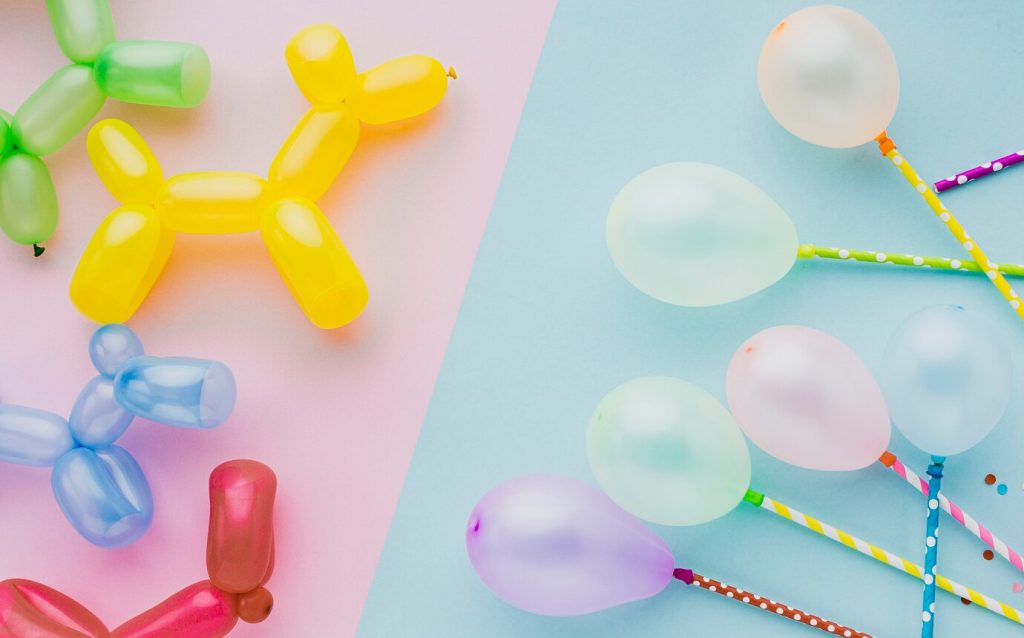
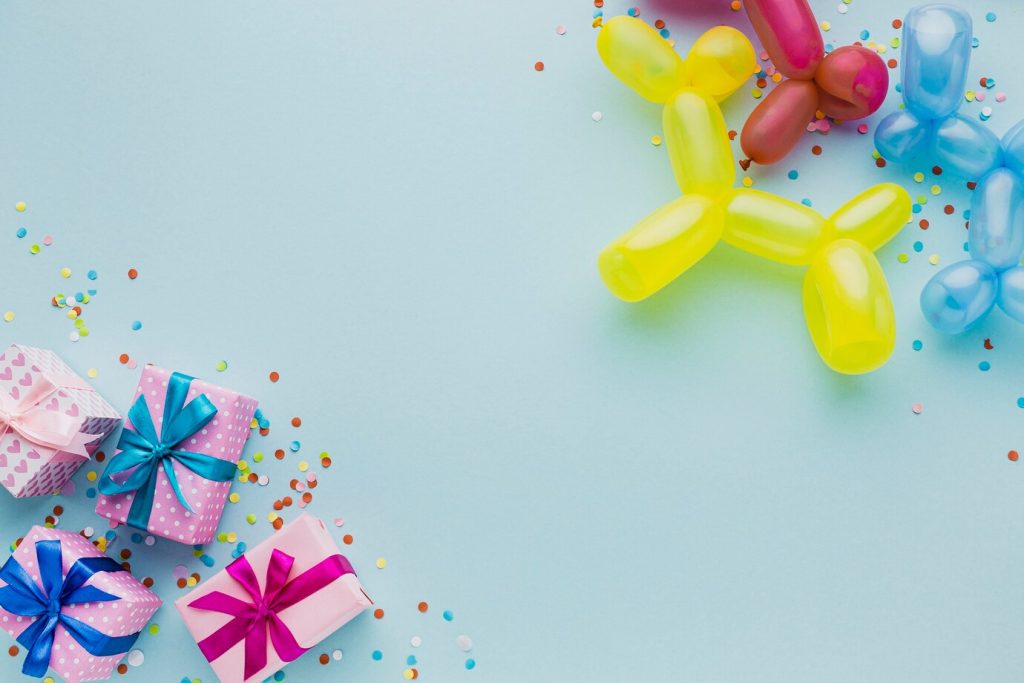
How to Make Balloon Animals

How to Make Balloon Animals

Learning how to make balloon animals is a delightful and entertaining skill that can bring joy to parties, events, or just a fun afternoon. In this guide, we’ll walk you through the step-by-step process of creating whimsical balloon animals, from gathering your supplies to mastering intricate designs. Whether you’re a beginner or aspiring balloon artist, get ready to twist, turn, and transform ordinary balloons into enchanting creatures that will delight both children and adults alike.

Gathering Your Supplies

Before you start, it’s essential to gather the necessary supplies. Here’s what you’ll need:

  1. Balloons. Invest in high-quality latex balloons, available in various colors and sizes. Common choices are 260Q or 160Q balloons.
  2. Hand Pump or Helium Tank. A hand pump makes inflating balloons easier and faster. Alternatively, you can use a helium tank if you prefer floating balloon animals.
  3. Scissors. Have a pair of scissors handy for cutting and shaping balloons.

With these essential supplies in place, you’re ready to start creating your balloon animal menagerie.

Basic Techniques

How to make balloon animal

Mastering basic balloon techniques is the foundation for creating captivating balloon animals. Here’s a step-by-step guide to get you started:

1. Inflate the Balloon:

  • Begin by inflating a balloon using your hand pump, leaving about 2 to 3 inches un-inflated at the end. This tail will be essential for twisting and securing the balloon.

2. Tie a Knot:

  • Once the balloon is inflated, pinch the inflated part with your fingers to prevent air from escaping.
  • Twist the balloon’s nozzle a couple of times to secure the air, creating a knot.

3. Create a Basic Twist:

  • To start shaping your balloon animal, hold the balloon’s nozzle between your thumb and forefinger.
  • Make your first twist about 2 to 3 inches from the nozzle by folding the balloon over itself.
  • Twist the two segments together to form a basic twist.

4. Make Additional Twists:

  • Continue creating twists by folding and twisting the balloon at various points, depending on the design you’re aiming for.
  • Maintain consistent pressure when twisting to ensure the segments stay securely connected.

5. Seal the Balloon:

  • To finish your balloon animal, leave a small un-inflated portion at the end of the balloon.
  • Tuck this end through the nearest twist or loop it around to secure the shape.
  • Trim off any excess balloon with scissors.

Practice these basic techniques until you feel comfortable with them. With these skills under your belt, you’ll be ready to tackle simple balloon sculpture designs like dogs, swords, and flowers in the next steps of your balloon sculpture-making journey.

I want the same!

Make your event more colorful with balloons!

Beginning with Simple Balloon Animals

Starting with simple balloon animals is a great way to build confidence and get the hang of basic twisting techniques. Here are instructions for creating three beginner-friendly balloon sculptures: a dog, a sword, and a flower.

1. Balloon Dog:

  • Inflate a balloon, leaving about 4 inches un-inflated at the end for the tail.
  • Create two small twists near the nozzle to form the ears.
  • Make a longer twist for the neck, followed by a small twist for the front leg.
  • Twist a loop for the body and another small twist for the back leg.
  • Finish with a final twist for the tail and secure the balloon.

2. Balloon Sword:

  • Inflate a balloon, leaving a short uninflated portion at the end.
  • Make a basic twist about 6 inches from the nozzle.
  • Create a long, straight segment for the sword blade.
  • Twist the remaining balloon into a handle.
  • Adjust the length of the blade as desired and secure the balloon.

3. Balloon Flower:

  • Inflate a balloon, leaving about 6 inches un-inflated at the end.
  • Make three small loops for petals, securing each with a twist.
  • Create a stem by twisting the remaining portion of the balloon.
  • Shape the petals and stem as needed to resemble a flower.

With these simple designs, you’ll quickly gain confidence and be on your way to creating more intricate balloon animals. Practice is key, so don’t be discouraged if your first attempts aren’t perfect; balloon twisting is a skill that improves with time and practice.

How do you make a balloon animal

Intermediate Balloon Animals

As you become more comfortable with basic balloon twisting techniques, it’s time to take your skills to the next level by creating intermediate balloon animals. These designs may require a bit more dexterity and attention to detail, but they’re still achievable with practice. Here are instructions for crafting three intermediate-level balloon animals: a butterfly, a rabbit, and a giraffe.

1. Balloon Butterfly:

  • Inflate a balloon, leaving a small tail.
  • Create two small loops at one end for the butterfly’s antennae.
  • Make a large loop in the middle for the wings.
  • Twist the remaining balloon into a body shape.
  • Adjust the antennae and wings to your liking.

2. Balloon Rabbit:

  • Inflate a balloon, leaving about 4 inches un-inflated for the tail.
  • Create two small loops for the ears.
  • Make a medium-sized bubble for the head.
  • Twist the remaining balloon into a body, leaving a small segment for the tail.
  • Shape the ears, head, and body as needed.

3. Balloon Giraffe:

  • Inflate a balloon, leaving about 6 inches un-inflated for the neck.
  • Create a large loop at one end for the head.
  • Make two small loops for the ears.
  • Create a long, slender neck by twisting the balloon.
  • Form the legs and tail with the remaining portion.
  • Shape the ears, head, neck, and legs to resemble a giraffe.

Intermediate balloon animals require patience and precision, so take your time and practice each step until you achieve the desired results. With dedication, you’ll soon be impressing friends and partygoers with your balloon animal sculpting skills.

How to tie a balloon animal

Advanced Balloon Animal Sculpting

Creating advanced balloon animal sculptures is a rewarding challenge for those looking to take their balloon twisting skills to the next level. Here, we’ll guide you through crafting two impressive designs: a detailed balloon dragon and a whimsical balloon peacock.

1. Balloon Dragon:

  • Inflate a long balloon for the body, leaving about 4 inches uninflated at the end.
  • Create multiple bubbles to form the dragon’s body segments, securing each twist.
  • Shape the head, adding eyes, nostrils, and a mouth using smaller balloons.
  • Attach wings by twisting smaller balloons into two large loops and connecting them to the body.
  • Craft the tail with a long, thin balloon segment, adding scales or spikes for detail.

2. Balloon Peacock:

  • Inflate a round balloon for the peacock’s body, leaving a short uninflated portion.
  • Create a fan-shaped tail using a combination of long, thin balloons, securing them at the base.
  • Attach the tail to the body with a twist.
  • Add the peacock’s head using a small balloon, and shape the beak and eyes.
  • Decorate the tail with colorful feathers, twisting small balloons into loops and securing them to the tail’s base.

These advanced designs require intricate twisting and shaping, so be patient and practice each step until you achieve the desired results.

BalloonLab is here to help you!

Whether you’re a beginner or looking to upgrade your balloon animal sculpting skills, BalloonLab is here to assist. Our team of experienced balloon artists is ready to bring your wildest balloon animal dreams to life. From basic dogs and swords to intricate dragons and peacocks, our skilled professionals can craft it all.

With BalloonLab, you don’t have to worry about the learning curve or perfecting your twisting techniques. We’ve got you covered with expertly crafted balloon animals that will amaze and delight at any event. Let us transform your vision into reality, leaving you free to enjoy the fun and magic of balloon artistry without the hassle.

  • Dmitriy Vaysman

    Meet Dmitriy Vaysman, the creative mind behind the magic at BalloonLab. With over a decade of experience in the balloon decoration industry, Dmitriy has been instrumental in turning ordinary events into extraordinary experiences throughout the Chicagoland area since 2008.